 Local Photo Restore
Reduce Yellow Tint and Faded Color in Old Photos
Start with a clear digital copy, reduce the yellow cast gradually, then restore contrast while comparing with the original. In Local Photo Restore that means the Remove Yellow Tint and Restore Contrast sliders, or Auto Fix as a starting point. None of this invents color for black-and-white photographs.
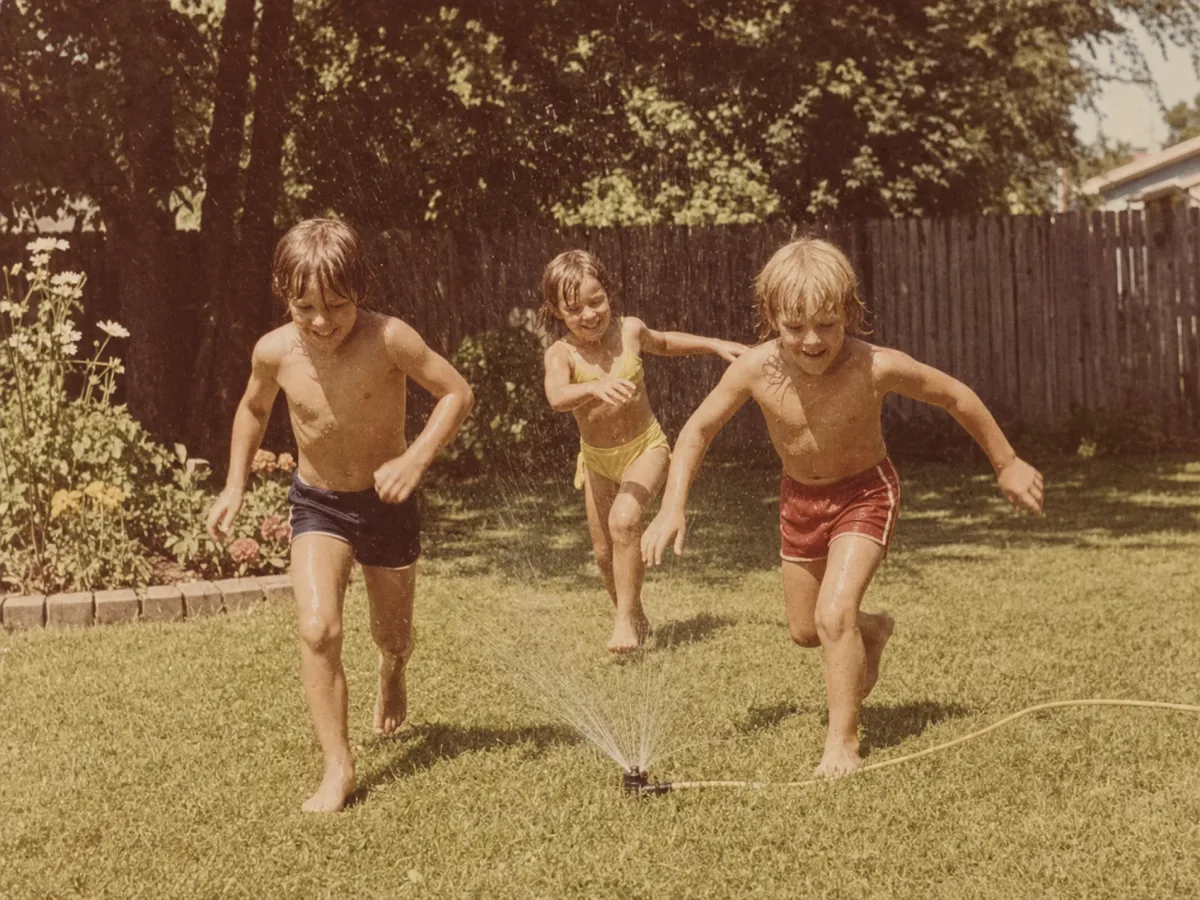
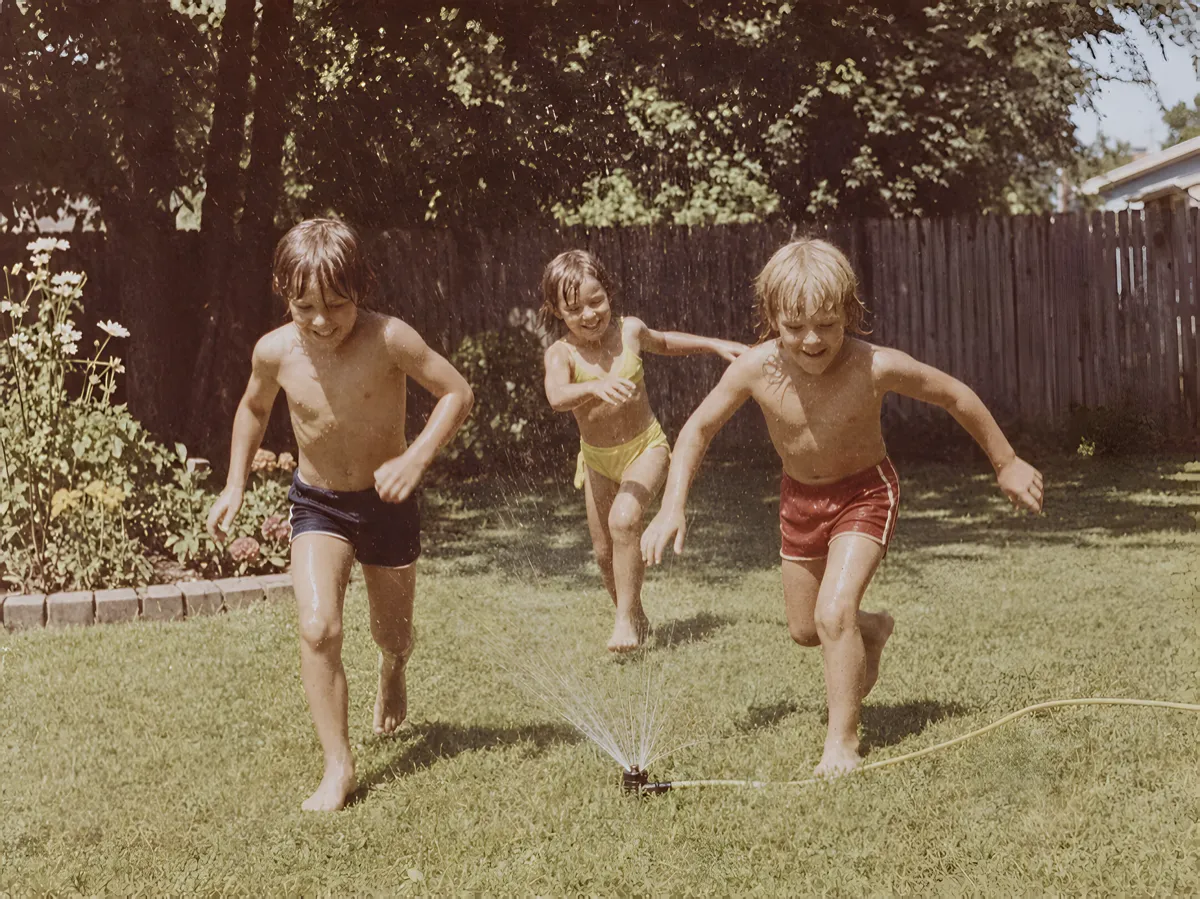
Separate the problems before adjusting
A yellow cast shifts the balance of the whole picture. Fading reduces the separation between light and dark areas and leaves existing colors weak. A photo can have both. Blur, glare, scratches, and torn paper are different problems, and a color adjustment will not remove them.
Check the capture itself first. If a recent photograph of the print looks much yellower than the print, try capturing it again in more neutral light. Fixing the lighting gives you a better starting point than compensating for it in an editor.
A careful adjustment sequence
- Choose the clearest original scan or capture from Photos.
- Run Enhance if the picture needs clarity or resolution.
- Move Remove Yellow Tint a little at a time. Compare familiar neutral areas, such as a white shirt, with skin tones.
- Raise Restore Contrast gradually. Check that bright clothing, shadows, and faces still look believable.
- Compare before and after at similar sizes, then zoom in. Save a new copy only when the change helps.
Use several reference areas
One apparently white object may actually have been cream, or lit by a warm lamp. Don’t force every bright area to pure white. Compare several parts of the image: faces, walls, clothing, and foliage.
Watch for a blue or gray cast after removing yellow, overly red skin, or shadows losing detail after a contrast change. Back off when a correction creates a new problem.
Faded color is different from colorization
Recovering existing color uses information already present in the picture. Colorization assigns plausible colors to a black-and-white image, and those choices may not match the historical scene. Local Photo Restore focuses on existing color; it is not a colorization app. More on that difference.
Keep the unedited version
Memories of a scene can help you judge the result, but they aren’t a precise color reference. Treat the output as an edited interpretation of your scan. Keep the original and the new copy side by side, and avoid presenting adjusted colors as proof of an exact historical shade.
Local Photo Restore costs $3.99 once in the U.S. App Store, with no subscription or in-app purchases. iPhone and iPad, iOS or iPadOS 18.2 or later.